Applies to: All products and plans
Create a New View:
- To create a new view, click on + Add View to the right of the view tabs above the list of records on an object's index page and click Create new view on the bottom left of the pop-out window.

- You can also create your new view by clicking on an existing view, clicking the Clone button in the top right corner, following step #2 (below), adjusting its filters, and clicking the Save button (located to the right of the Clone button).

- You can also create your new view by clicking on an existing view, clicking the Clone button in the top right corner, following step #2 (below), adjusting its filters, and clicking the Save button (located to the right of the Clone button).
- In the pop-up window, enter the name of your new view and choose who you want to have access to the view. Click Confirm.

- Update the filters, located above the record list, to reflect which segment of contacts you would like to see in this view (for further details on how to create your filters, see below).

- Click the Save button in the top right corner of your page.

Change a View's Filters:
To change the filters of a view, use the property dropdown menus at the top of the table or board or the Advanced filters option.

Property Filter Dropdowns:
To filter by one of the property dropdowns:
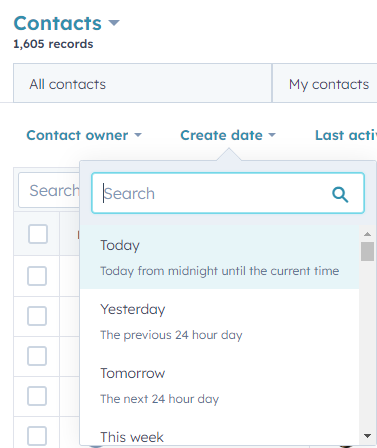
- Click on the dropdown of the property by which you want to filter (e.g., Create date).
- Search for your desired option in the dropdown and click on it. The record list will then automatically update to include only those records that match the filter you have chosen.
Advanced Filters:
To filter using the advanced filters feature:
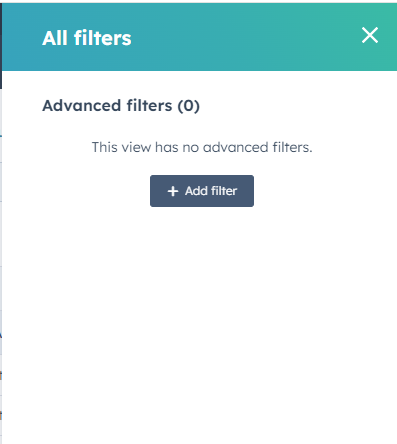
- Click Advanced filters to the right of the property filter dropdowns.
- Click + Add filter in the pop-out window.
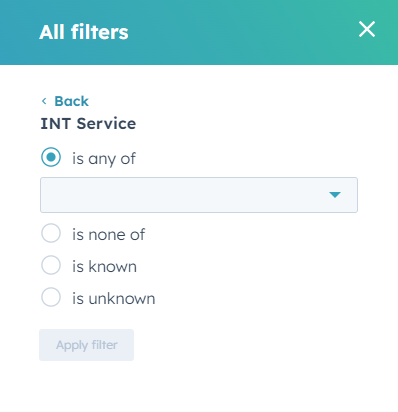
- Search for and click on your desired filter.
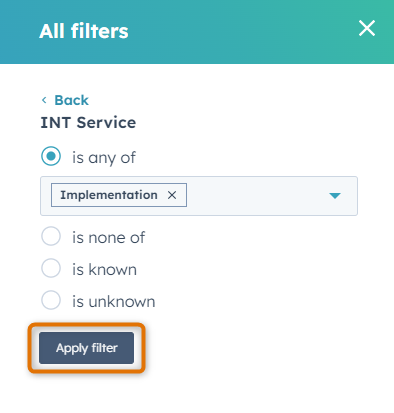
- Select your desired filter criteria and property option from the dropdown (if applicable).

- Click Apply filter.
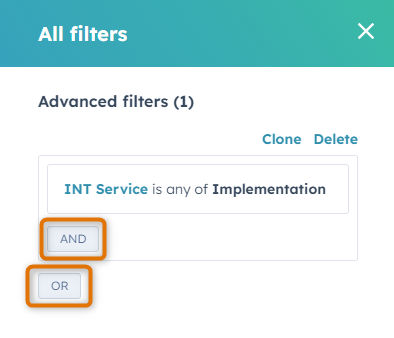
- Click AND or OR to select another property.
- Selecting AND means that records must meet all of the criteria in the filter group to be included in the view.
- Selecting OR means that the records must meet the criteria in at least one of the filter groups to be included in the view.
-
To remove a property, hover over the filter and click the Delete icon.
-
When complete, click the X in the top right corner.
- To clear all filters from a view, click Clear All next to Advanced filters.

Save A View:
- To update the filters and settings for the current view, click the Save button.
- To save these filters and settings as a new view: Click the Clone button in the top right corner. In the dialog box, enter a name for the view, select a visibility setting, and click Confirm. Adjust the view's filters to your liking, and click the Save button (located to the right of the Clone button).
- To reset the current view to its original saved filters, select the Reset button. This will remove any new filters you have applied to the view.
