HubSpot provides default properties for each Object, however, you can create custom properties to store unique and specific data for your business.
To create a property, you will need to have the permission Edit property settings enabled, or be a Super Admin.
Create a Property:
- At the top right of the main navigation menu, click the Settings (gear) icon.
- Navigate to Data Management on the left sidebar and click Properties.
- Next, click Create Property.
- Click the Select an object dropdown menu, then select [Object] properties to create a property for that object.
- Select the field type (browse through the options). Then click Create.
Note: The description is optional and totally up to you. Click Next when complete.

In the right panel, set the property’s basic information:
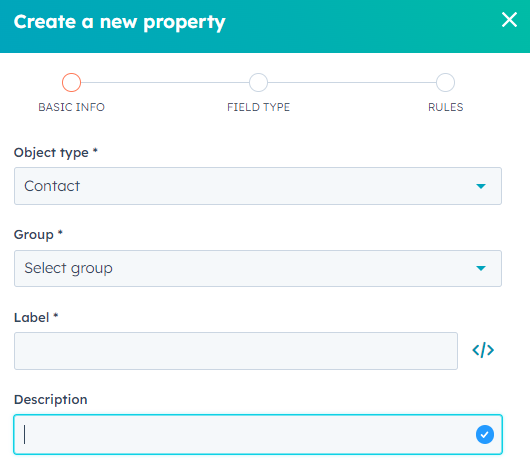
1. Object type: select the object that will store the property.
Note: Object type cannot be edited once saved.
2. Group: select the group that the property will belong to. A property group is a label used to group similar properties within an object.
3. Label: enter a unique name for the property. This is the name of the property as it appears in your HubSpot CRM, including on records and index pages.
4. Internal name: click the code icon to set or view the internal name for the property. Once a property is created, the internal name cannot be edited. Since the internal value of a property will never change, it should be used for integrations and APIs rather than the property label.
5. Description: enter text to describe the property.
6. Click Next.
Select a Field Type:
1. To set the property’s field type, click the Field type dropdown menu, then select a field type for the property.
