Applies to: All products and plans
When you publish new blog posts, you can set up blog subscription notifications to send instantly, daily, weekly, and/or monthly emails.
Create Blog Subscriber Notification Emails:
- In your HubSpot account, click the Settings (gear) icon in the main navigation bar.
- In the menu on the left side of the page, click on Website > Blog.
- In the Current View section, click the correct blog from the dropdown menu.
- Click the Subscription tab.
- In the Blog subscriber notification emails table, decide how often you would like the notifications to be sent to your subscribers and then click Create to the right of your desired frequency (in the Email Link column).
- You will be taken to the Select a template page, where you will be able to click on the marketing email template you would like to use for the blog subscriber notification email.

Edit Tab:
- In the email editor, click the main body of your email to edit its content.
- In the menu on the left side of the page, use the Display field to edit the text of your blog post descriptions.
- To rearrange the order of blog post information, click an RSS token and drag it to a new position. The following RSS tokens are available: Title, Author, Publish date/time, Summary, Post link, and Featured image.
- To add a new RSS token, click the Insert dropdown and then RSS token. In the Token dropdown menu, select the RSS token you would like to add to your blog description.
- In the menu on the left side of the page, use the Display field to edit the text of your blog post descriptions.
- In the Post Length section, choose whether you would like to include a summary of the blog post in the email (including its title and a short description), or the full post.
- In the Max number of posts to display, choose the number of articles you would like to display in the email.
- Click Advanced settings to set the width of your featured images.
- In the Padding section, adjust the amount of padding you would like around the content of the email (turn off padding by clicking on the Padding toggle).
Settings Tab:
1. Navigate to the Settings tab to update the following:
-
- From name: Select the name you would like to display as the sender.
- From address: Select the email address you would like to display as the sender's email address and which will receive any replies to your blog subscription emails.
- Subject line: By default, the blog subscription email will be set to use the latest blog entry headline as the email subject line. To set a custom subject line, clear this field and enter your desired subject line.
- Preview text: Enter the text you would like to display under the email subject line in the recipient's inbox.
- Internal email name: This is what will appear as the email's name in your HubSpot portal's Marketing Email list.
- Campaign: If this blog subscription email is part of a campaign, choose the campaign from the dropdown so that it appears in the Campaigns section of your HubSpot portal.
Send or schedule Tab:
- Click on the Send or schedule tab to adjust the send frequency and determine whether or not to send the email to contacts with low engagement.
- Once you are done editing the email, either click Save (to save it and make further edits later) or Review and publish (to publish and schedule the email) at the top of the page.
Check out this article for more information on how to edit marketing emails.
Note: You will be able to access and edit this email in the future by navigating to Marketing > Email in your top menu.
Note: Your blog subscription emails will count toward your email send limit.
Note: HubSpot blog subscription forms are created automatically after you publish a blog subscription email. Navigate to Marketing > Lead Capture > Forms in your top menu to edit this form.
Customize your Blog Subscription Settings:
- Navigate back to the Subscriptions tab in the Website > Blog section of your Settings.
- If you chose to Review and publish your email, you will now see that the email status is Completed, there is an editing and a Delete link available, and there is a toggle that is switched on in the Send column. Click on the editing link to edit the email, Delete to delete the email, and the Send toggle to stop the email from sending.
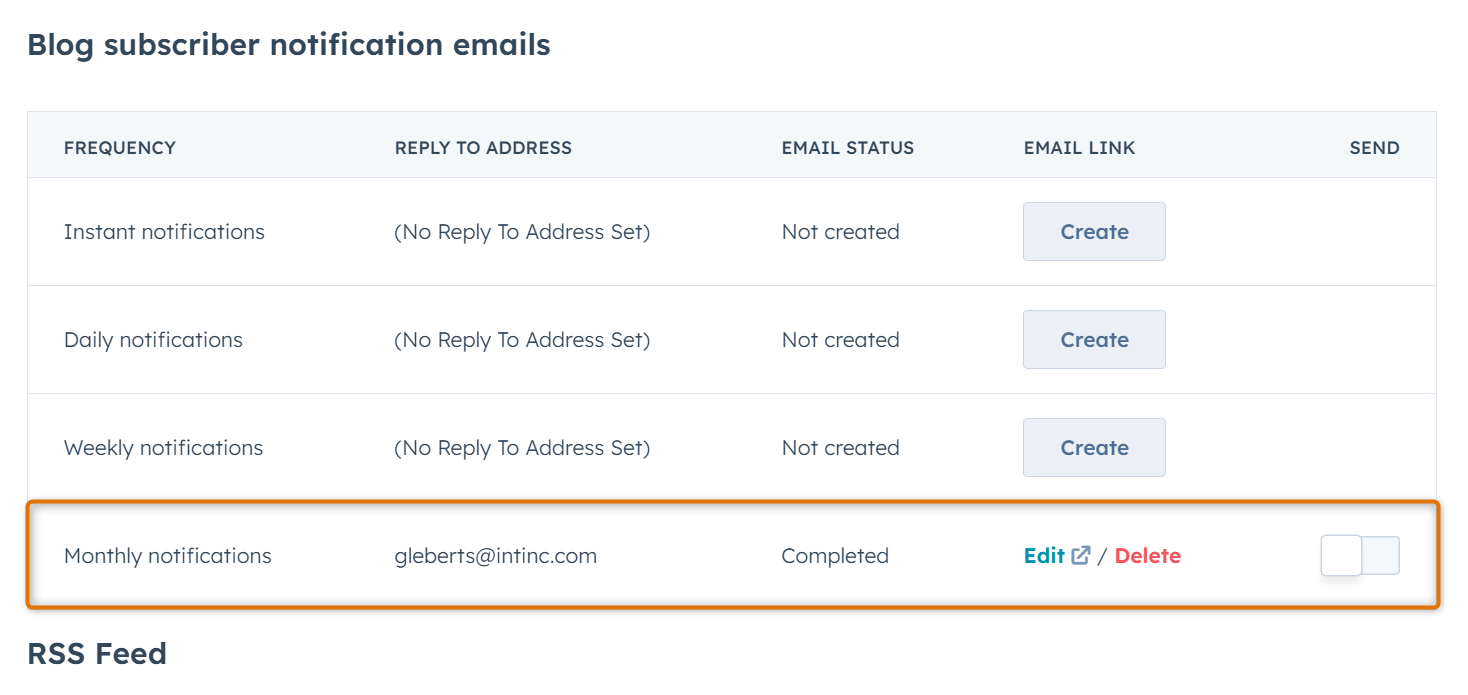
- If you chose to Review and publish your email, you will now see that the email status is Completed, there is an editing and a Delete link available, and there is a toggle that is switched on in the Send column. Click on the editing link to edit the email, Delete to delete the email, and the Send toggle to stop the email from sending.
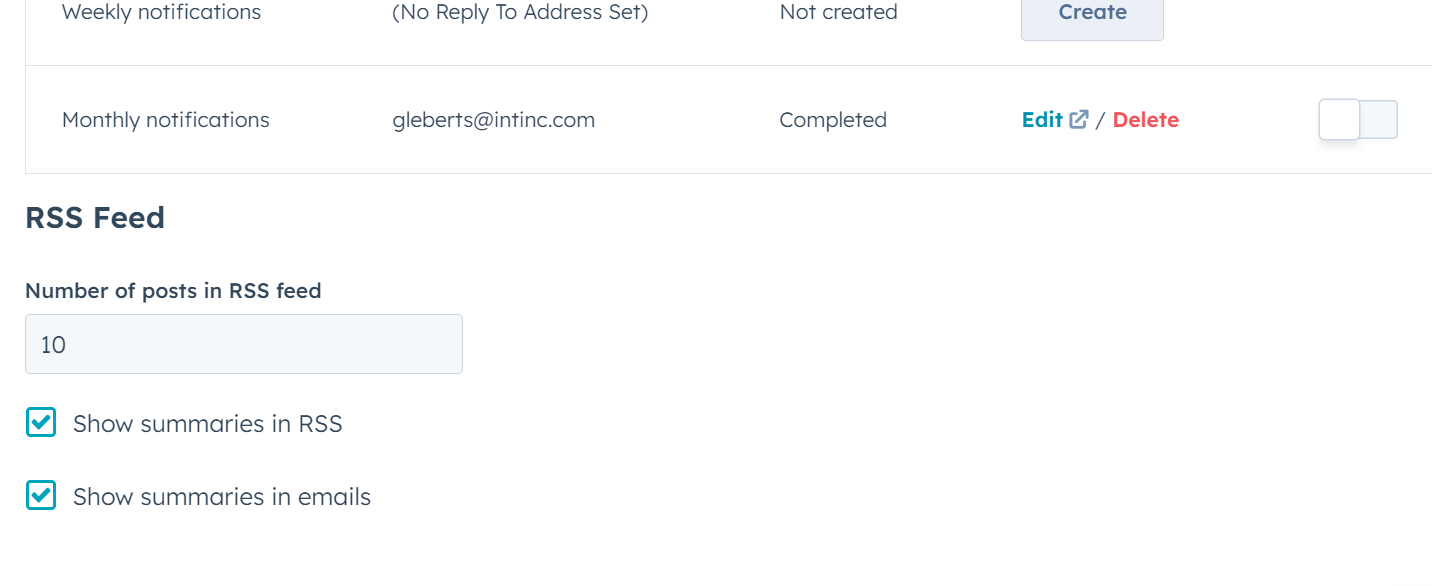
- Edit the settings for your RSS feed and emails (found at the bottom of the Subscriptions tab):
- Number of posts in RSS feed: Enter the number of posts that will appear in your RSS feed. Each RSS email will only include posts that have been posted since the most recent email notification, up to the selected number.
- Show summaries in RSS: Select this checkbox to show a preview of your blog post content in your RSS feed.
- Show summaries in emails: Select this checkbox to show a preview of your blog post content in your blog subscriber notification emails.
Check out this article to learn more about managing your blog subscribers list.